Resizable Div Box with Mouse Dragging Support Using Vanilla JavaScript / TypeScript
September 06, 2020
Recently, I have created a Demo Project, which demonstrates how to create a resizable div box by using mouse clicking and dragging. It uses vanilla TypeScript (or removing those types to be JavaScript). I created this Demo project simply because I wanted to explore how to achieve this effects purely by manipulating with different div elements and event listeners. Here you go:
There are some concepts behind this demo, which I would like to mention
Determine The Position of the Box
Well, this is a simple math implementation here.
To draw a resizable box, you need to do a mouse click firstly, move the mouse without releasing it, and lastly release the mouse in the end. Hence, there are 2 points, the first point being the point where you hit the mouse and the second point being the point where you release the mouse.
Then, the straight line between the 2 points is how your mouse has moved. And from this line, you can do some calculations and find out the position of the div box and its width and height.
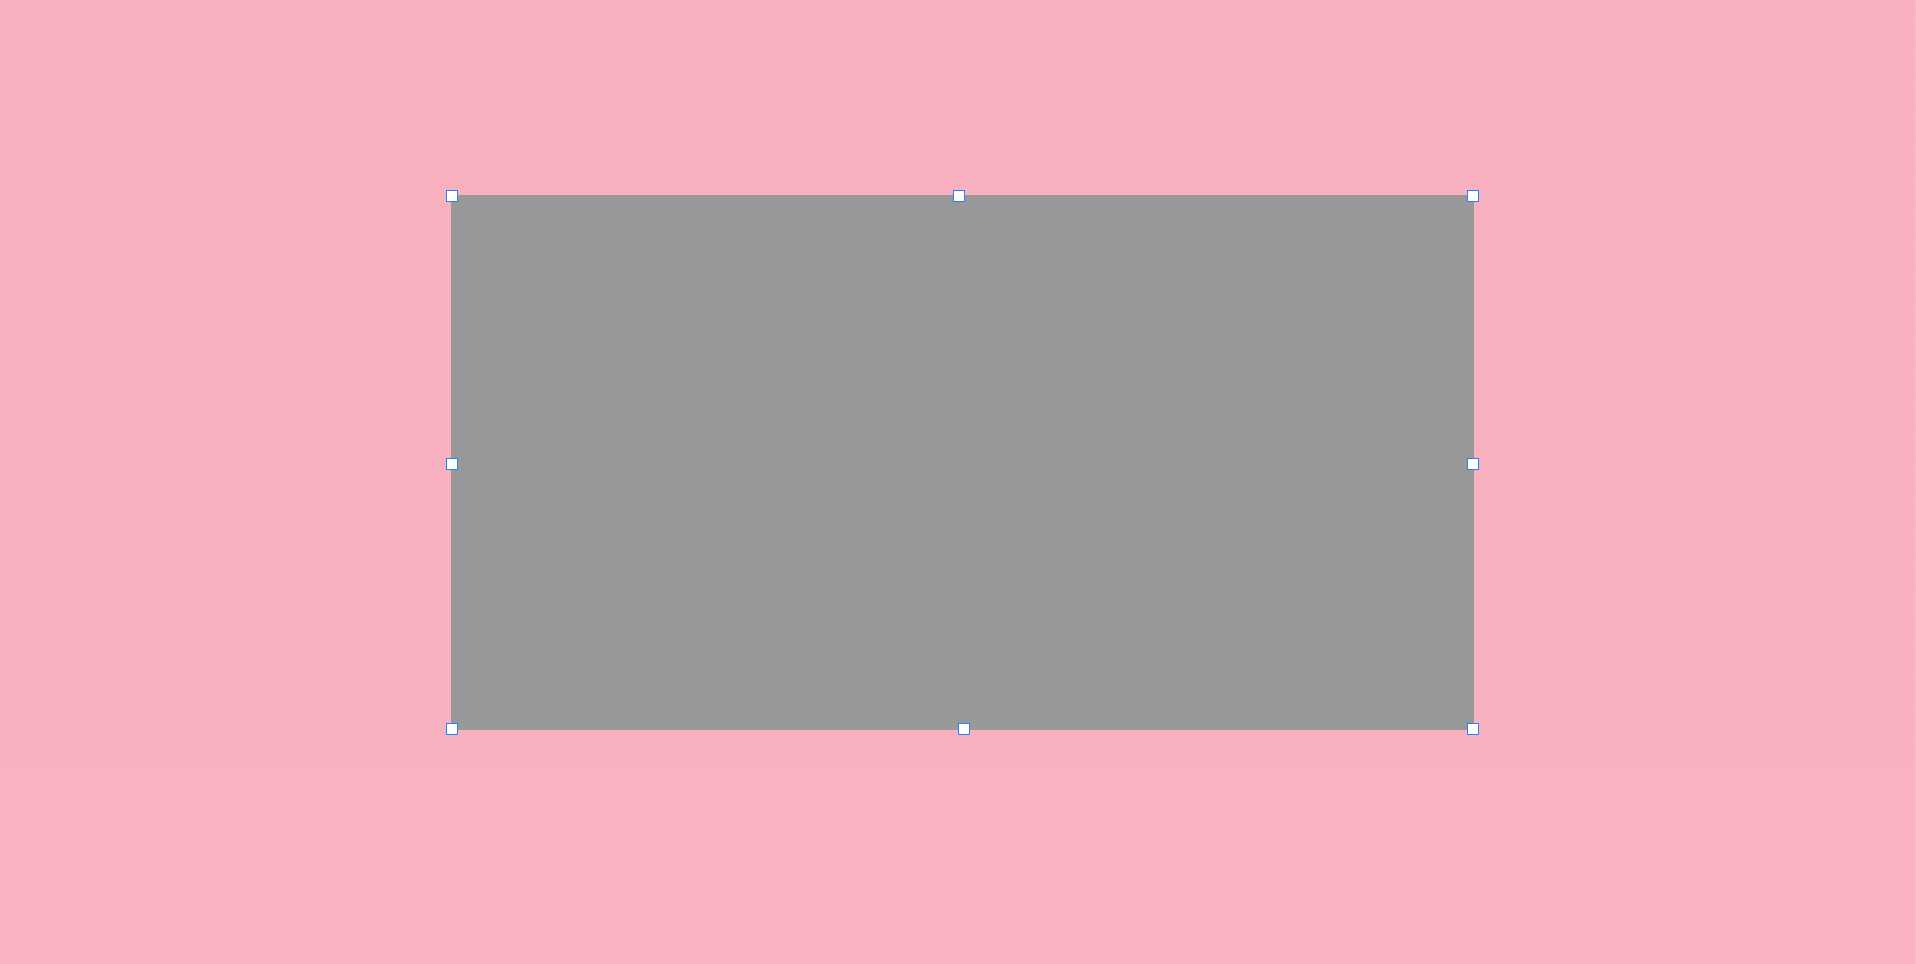
As illustrated in the following diagram, point start and point end both has individual information of cursor events with their x and y values.
Assume point start is (X1, Y1) and point end is (X2, Y2).
You can use
abs(X2 - X1)to get widthabs(Y2 - Y1)to get heightmin(Y1, Y2)to get topmin(X1, X2)to get left
And then, all you have to do is just applying these numbers to the respective CSS styles of the div.
refresh() {
  const left = Math.min(this.startCoordinator.x, this.endCoordinator.x);
  const right = Math.max(this.startCoordinator.x, this.endCoordinator.x);
  const top = Math.min(this.startCoordinator.y, this.endCoordinator.y);
  const bottom = Math.max(this.startCoordinator.y, this.endCoordinator.y);
  const height = bottom - top;
  const width = right - left;

  this.ref.style.top = `${top}px`;
  this.ref.style.left = `${left}px`;
  this.ref.style.width = `${width}px`;
  this.ref.style.height = `${height}px`;
}
Every time when any of top, left, height and width changes, it indicates the div box should be refreshed and repainted in the web page. By achieving that, simply use the refresh() function to update the styles of the div box
Resize the Box Using 8 Adjusters
After initially drawing the div box, there should be 8 adjusters to allow users to resize the box.
The 8 adjusters are named as
TOPBOTTOMLEFTRIGHTTOP_LEFTTOP_RIGHTBOTTOM_LEFTBOTTOM_RIGHT
Again, based on the mouse click starting point and ending point, we can get the movement value of X and Y. And with the position of the adjuster, we can know how to resize the box correctly.
For example, For Top_Left adjuster,
case Position.TOP_LEFT:
  top += movementY;
  height -= movementY;
  left += movementX;
  width -= movementX;
  break;
Then we can get the updated top, left, height and width.
And then based on these values, we can then re-calculate the starting point and the ending point, then refresh and repaint the div box on the web page.
this.startCoordinator = {
  x: left,
  y: top
};

this.endCoordinator = {
  x: left + width,
  y: top + height
};

this.ref.style.top = `${top}px`;
this.ref.style.left = `${left}px`;
this.ref.style.width = `${width}px`;
this.ref.style.height = `${height}px`;
Handling Mouse Events
The headache point in this demo is definitely to handle the mouse events manually.
We need to be careful on what behaviour should be performed when a certain type of mouse event is occurred.
For example, in the initial drawing phase, we need to utilise mousemove event to handle the div box resizing when dragging it.
However, we cannot directly hook the handler function to the mousemove event in document.body, because it has a pre-condition, that is we need to firstly perform mousedown event, which is when the user click the mouse and start to drag. Otherwise, you would see the box flickering around all the time when your mouse moves.
And you also need to remove this mousemove event after drawing is complete, or you would find the box keeps changing the size while your mouse moves after drawing.
So, to solve this problem, you should only add mousemove and mouseup events when mousedown is triggered, and remove both events when mouseup is actually triggered, to avoid undesired and unnecessary resize of the div box.
function onMouseDown(e: MouseEvent) {
  if (!cropper) {
    cropper = new Cropper(document.getElementById('app'));
    cropper.start(e);

    document.body.addEventListener('mousemove', onMouseMove);
    document.body.addEventListener('mouseup', onMouseUp);
  }
}

function onMouseMove(e: MouseEvent) {
  cropper.move(e);
}

function onMouseUp(e: MouseEvent) {
  cropper.stop(e);
  document.body.removeEventListener('mousemove', onMouseMove);
  document.body.removeEventListener('mouseup', onMouseUp);
}

document.body.addEventListener('mousedown', onMouseDown);
Summary
To me, this is an interesting demo on how to create interactive elements using pure HTML, CSS and JavaScript / TypeScript.
The demo itself is not perfect. For example, it does not have dragging to reverse the div box feature. However, it is still a nice learning experience on practicing the combination of event handling and CSS drawing.